"Hot passion." Making glass beads is one of those things that I truly enjoy, one of my passions. My art. I whipped out my handy dandy {huge} wonderful Canon and took some shots along the way while I was making a bead a few months ago. Keep in mind one hand was trying to hold flaming hot glass {think about 950 degrees flaming!} and the other was balancing a full-size DSLR camera- in short the pics are not amazing but they'll suffice.
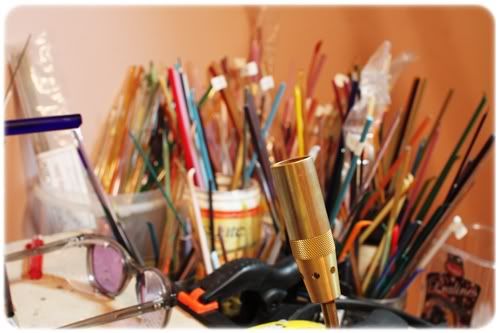
First- an introduction to my work area. Lots of glass, my safety glasses, the all-important torch... and an empty plastic container of chocolates lurking in the background- a waiting vessel in which new glass will soon be organized.
I, er, dumped out the chocolates so I could use the container... um, yeah.
The particular bead in these pictures was made special for a friend. It's what I refer to as a "Blue Bead." The base is made with transparent cobalt blue glass; what you see here is me holding a "mandrel." Made of stainless steel {so it doesn't conduct heat!} it's been dipped in a substance that is similar to mud. "Bead release," it coats the stainless steel so the hot glass does not permanently adhere to the mandrel. It allows the bead to release once it's all finished. This little "X-Wing Fighter" is a specific way I add melted glass to the mandrel- this weirdness will melt down to a roundish ball.
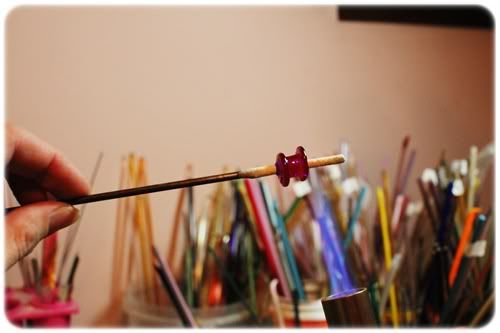
The roundish ball. **Warning** Do not indulge in a double espresso shot grande mocha from Starbucks before melting glass! A steady hand is a necessity!
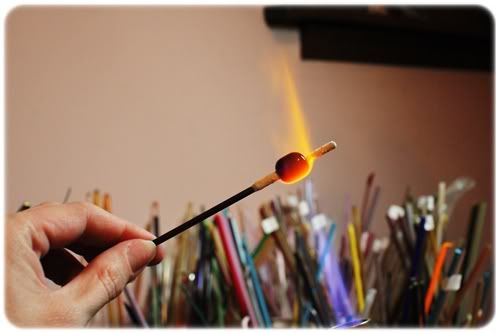
I then covered the cobalt blue glass with silver foil. Looks similar to tin foil but much thinner- and made of 99.9% sterling silver. Not something you're gonna want to wrap a sandwich in, that's for sure! The foil is "pushed" onto the bead with a tool {not my fingers- one learns not to touch glass at 950 degrees after a few "hot damn!" moments} and then covered with clear glass.
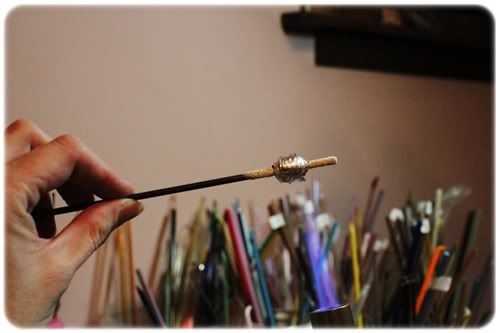
I melted the clear glass down over the silver and used a pointed tool to move and manipulate the molten glass around on the bead. This worked to swirl the silver around, kinda making it look similar to waves on the ocean.
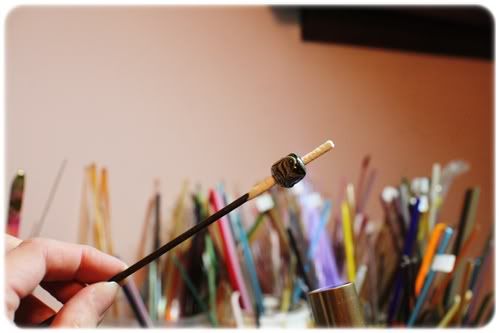
This warm soft glob of glass was then rolled in small pieces of crushed glass, called "frit." The frit is melted into the base bead and the entire glob is covered in a thick layer of clear glass.
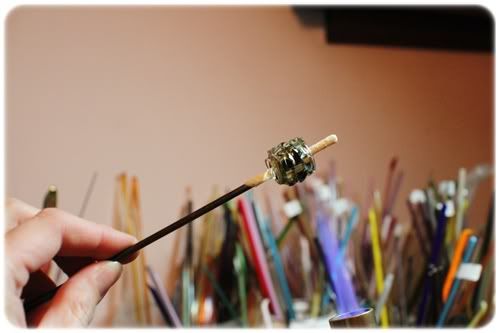
This layer of clear glass is carefully melted flat so it is spread evenly over the entire base. The clear serves to magnify all the fun stuff underneath, adding depth and dimension to the bead. This is known as "encasing." Most of my beads are encased with clear because I just love the final effect. This is what it looks like when the clear glass is only partially melted smooth:
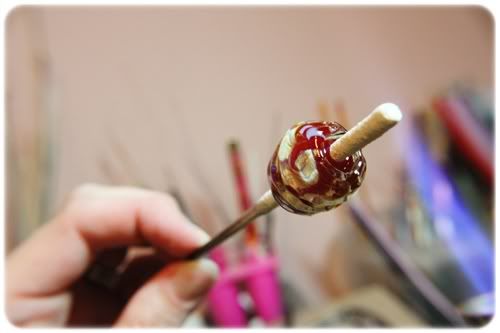
Almost done...
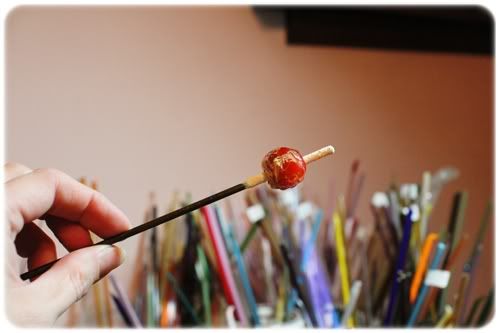
Viola! Close up shot of the clear glass melted even and flat over the bead.
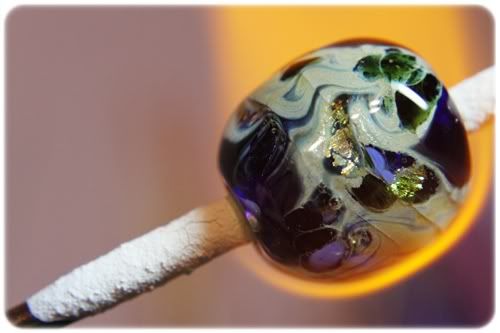
From here this bead is quickly transferred hot to the kiln where it is annealed for a few hours. After annealing it is removed from the mandrel and that mud-like bead release is reamed out of the hole- drilled out with my handy dandy Dremel rotary tool using a long skinny diamond drill bit. I forgot to take a final picture of this bead after I cleaned it and before I gave it away but I've made many of these "Blue Beads" and here is one very similar that I made for myself:
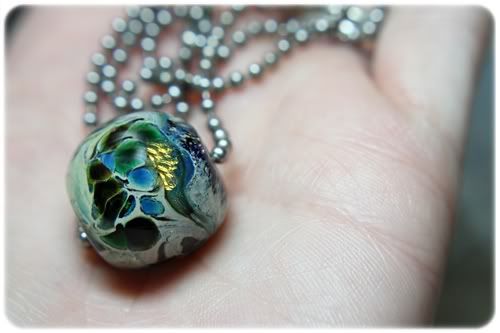
That metallic gold is the silver foil that was "trapped" under the clear glass; chemically the silver and clear combines to make gold. I love this bead and wear it often; my tiny treasure.

 Projects